Showing posts with label VMWare. Show all posts

Wednesday, 16 September 2015

Installing Oracle Linux 7

Had to install a new Oracle Linux 7 server to replace a current oracle server that is having problems. I used THESE instructions to do it:

Oracle Linux 7 (OL7) Installation

This article provides a pictorial guide for performing a basic installation of Oracle Linux 7 (OL7).

Basic Installation

  1. Boot from the DVD. Use the up arrow to pick the "Install Oracle Linux 7.0" option and hit the return key.
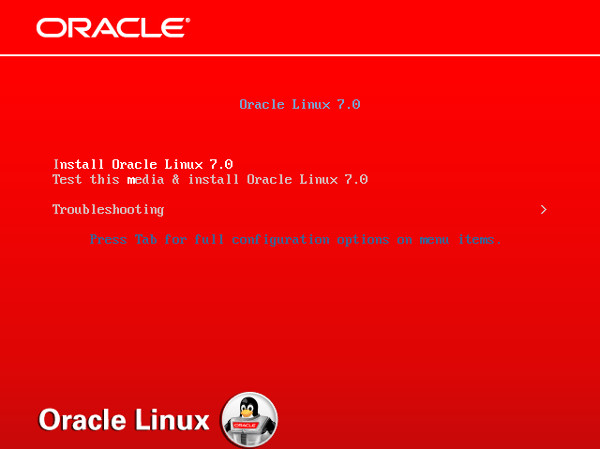
    Boot
  2. Select the appropriate language and select the "Set keyboard to default layout for selected language" option, then click the "Continue" button.
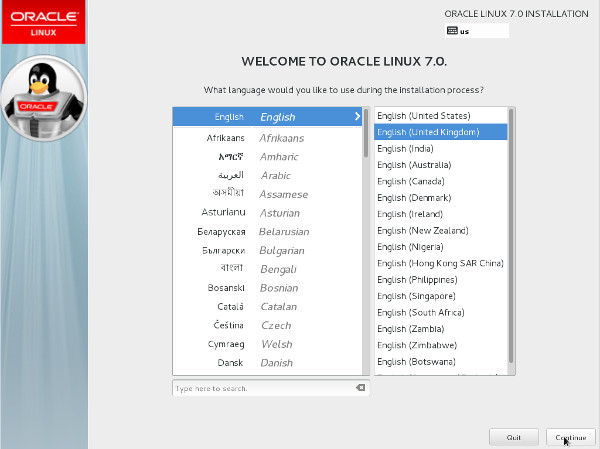
    Language
    Click the "I want to proceed." button on the pre-release software warning screen.
  3. You are presented with the "Installation Summary" screen. You must complete any marked items before you can continue with the installation. Depending on your requirements, you may also want to alter the default settings by clicking on the relevant links.
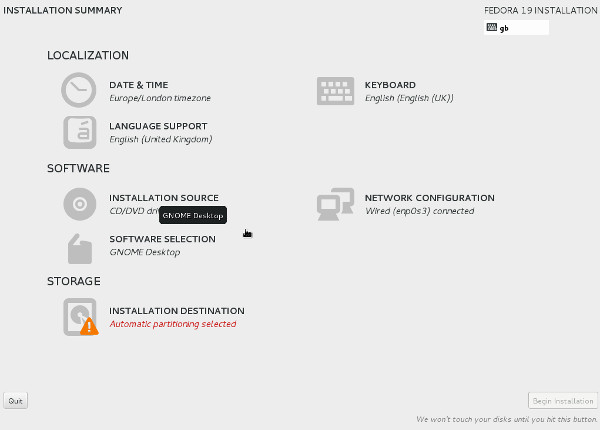
    Installation Summary
    Click the "Installation Destination" link.
  4. If you are happy to use automatic partitioning of the whole disk, click the "Done" button to return to the previous screen.
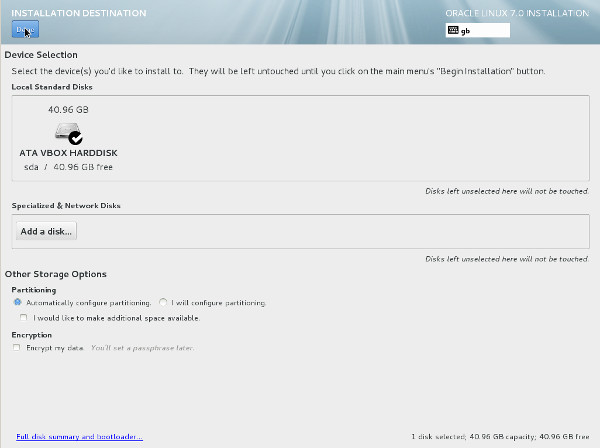
    Installation Destination
    If you want to modify the partitioning configuration, click the "Continue" button and work through the partitioning screens.
  5. It would be advisable to click on the "Software Selection" link and pick the following options if you want a GUI console.
    • Base Environment > Server with GUI
    • Add-Ons for Selected Environment > Compatibility Libraries
    • Add-Ons for Selected Environment > Development Tools
    Once you have completed your selections, click the "Done" button.
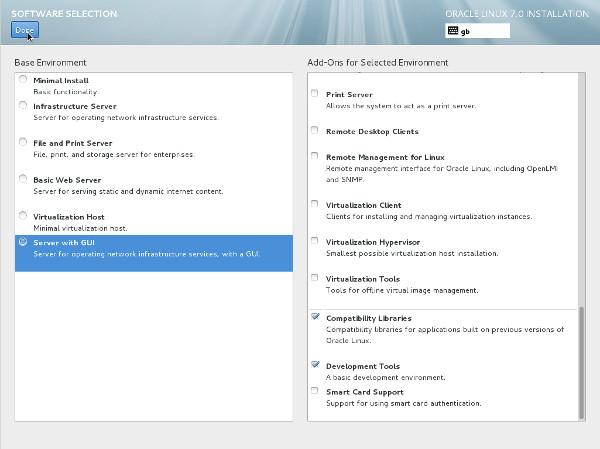
    Software Selection
  6. Once you have completed your alterations to the default configuration, click the "Begin Installation" button.
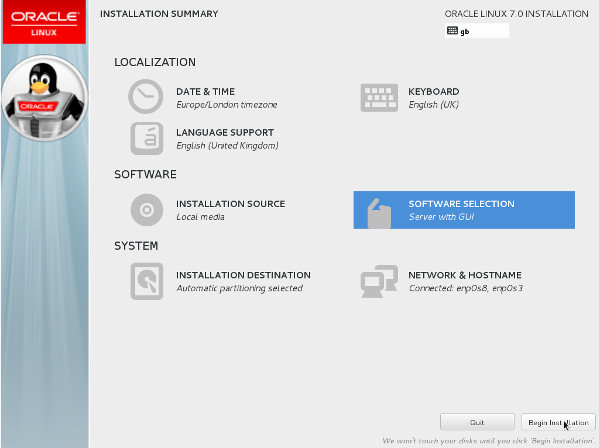
    Installation Summary
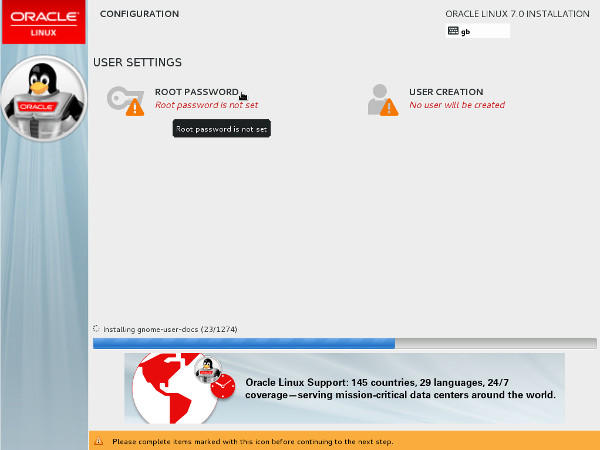
  7. Click the "Root Password" link.
    Configuration
  8. Enter the root password and click the "Done" button.
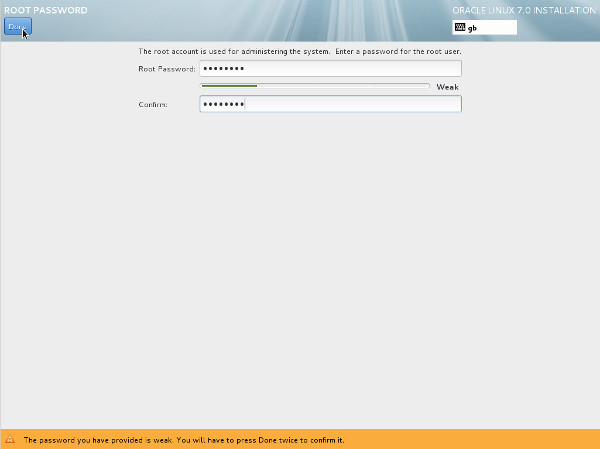
    Root Password
    Click the "User Creation" link.
  9. Enter the user details and select the "Make this user administrator" option, then click the "Done" button.
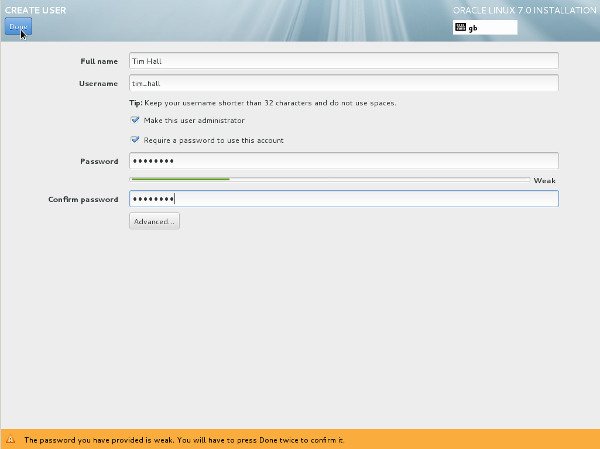
    Create User
  10. Wait for the installation to complete. When prompted, click the "Reboot" button.
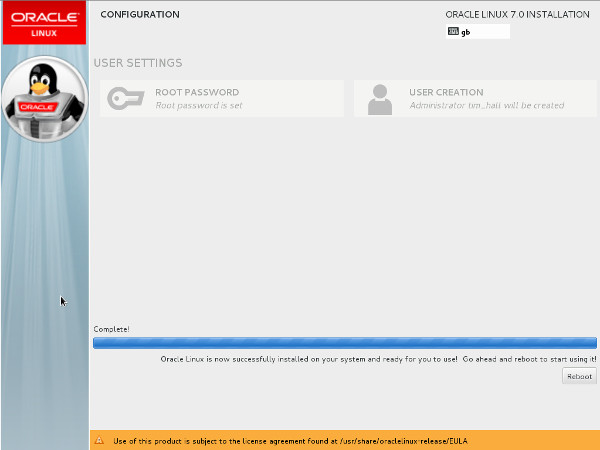
    Configuration
  11. Click the "License Information" link. Check the "I accept the license agreement" checkbox and click the "Done" button. When you return to the previous screen, click the "Finish Configuration" button.
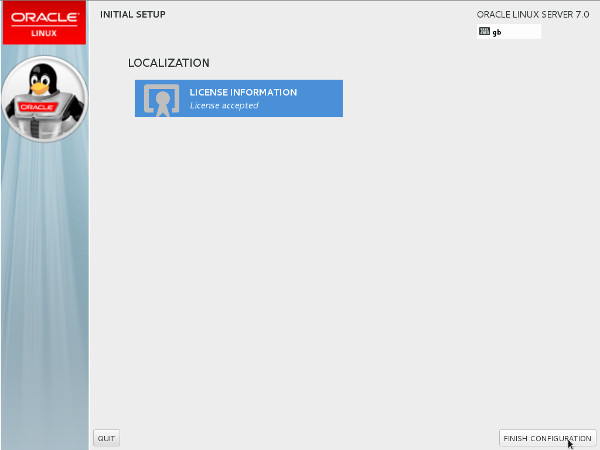
    Initial Setup
  12. Decide if you want to use Kdump and click the "Forward" button.
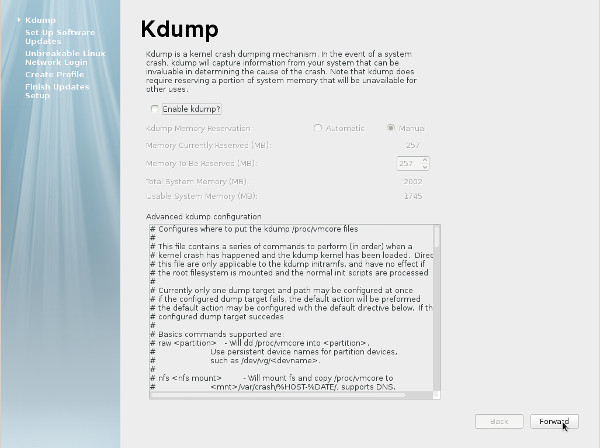
    Kdump
  13. Decide if you want to set up software updates and click the "Forward" button. If you chose not to register with ULN, you will need to confirm you decision also.
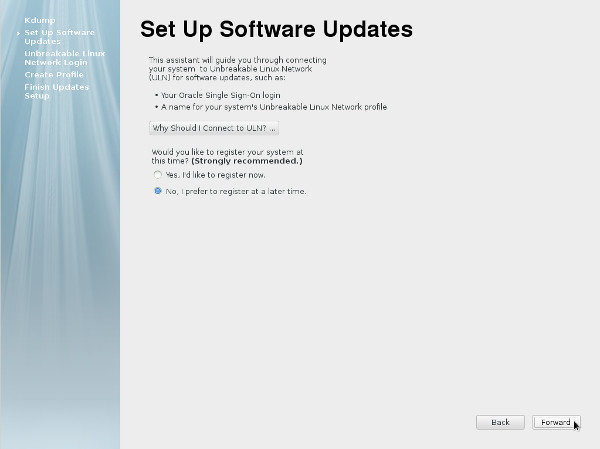
    Set Up Software Updates
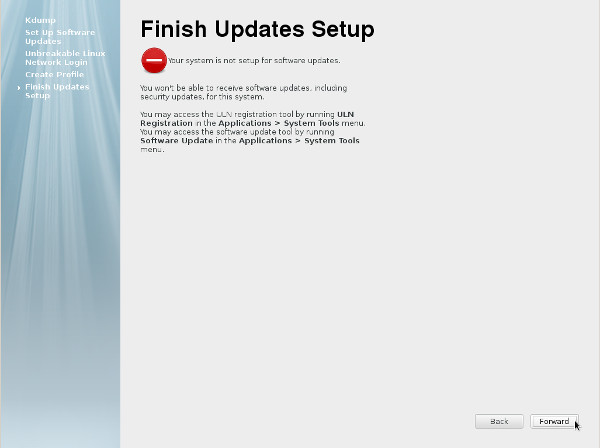
  14. Click the "Forward" button.
    Finish Updates Setup
  15. On the sign-in screen, click on the user you want to log in as.
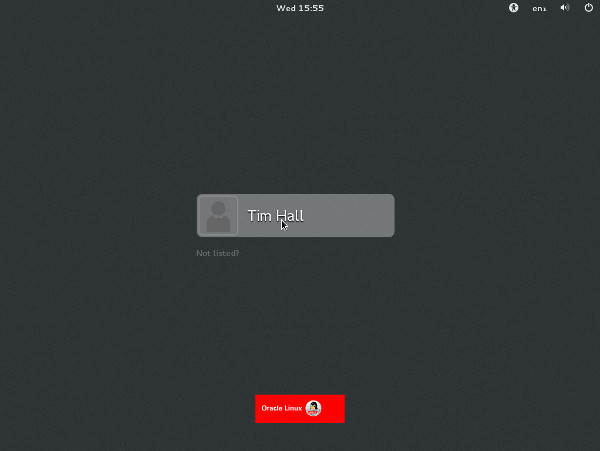
    Log In
  16. Enter the password and click the "Sign In" button.
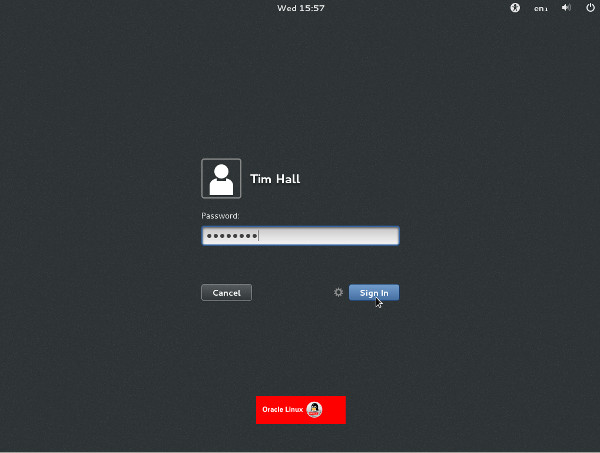
    Sign In
  17. Accept the language by clicking the "Next" button.
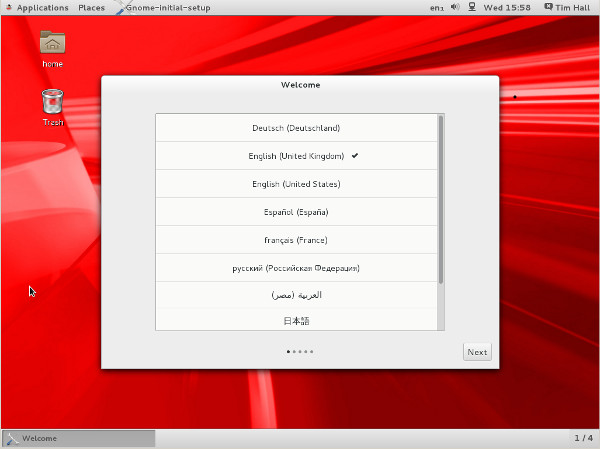
    Welcome
  18. Accept the input sources by clicking the "Next" button.
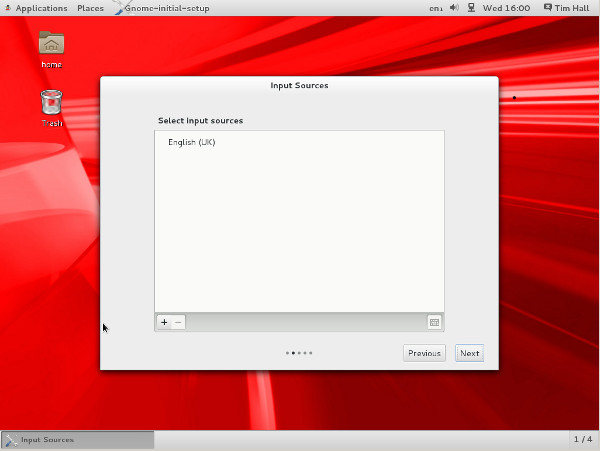
    Input Sources
  19. Connect to existing data in the cloud, or just click the "Next" button.
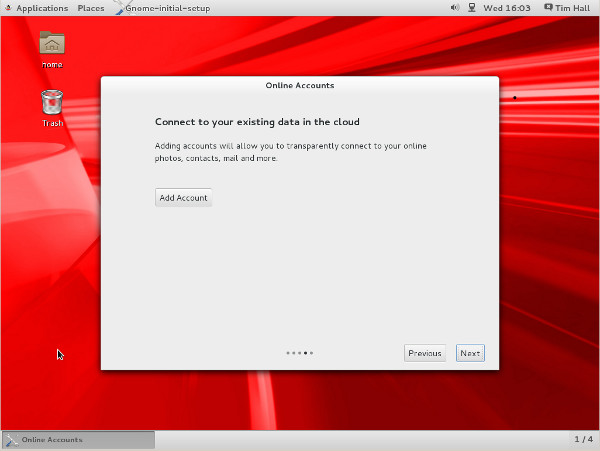
    Online Accounts
  20. Click the "Start using Oracle Linux Server" button.
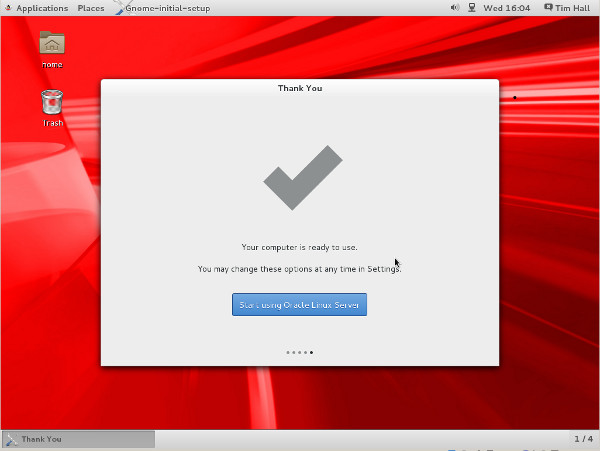
    Thank You
  21. You are now presented with the console screen.
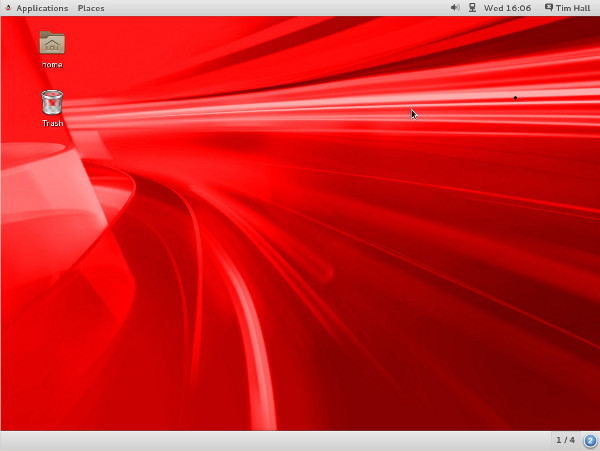
    Console

Network Configuration

  • If you are using DHCP to configure your network settings, then ignore the following network configuration screens, otherwise click the network icon on the top bar and click the "Network Settings" link. You are then presented with the "Settings" screen. Highlight "Wired", flick the switch to "ON" and click the cog icon at the bottom-right.
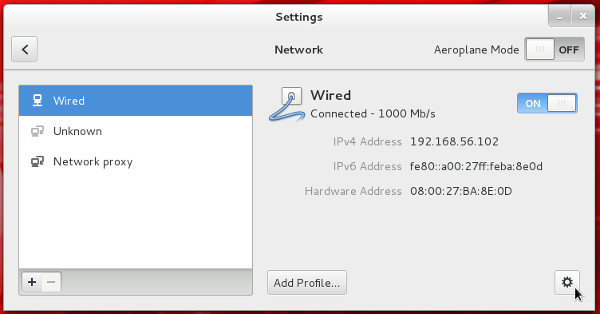
    Network
  • Click the IPv4 option, select the "Manual" method and enter the appropriate IP address and subnet mask, default gateway and primary DNS, then click the "Apply" button.
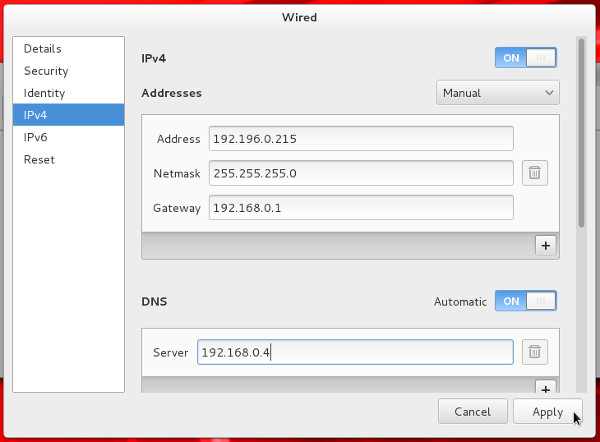
    Network Devices - IPv4
  • Close the "Network" dialog.

Customizing Software

  • You can customize the installed packages using the "Software" dialog (Applications > System Tools Software).
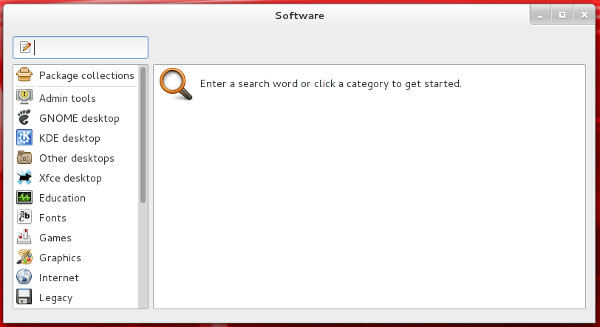
    Software

SELinux

  • If the OS is to be used for an Oracle installation, it is easier if Secure Linux (SELinux) is disabled or switched to permissive. To do this edit the "/etc/selinux/config" file, making sure the SELINUX flag is set as follows.
    SELINUX=permissive
    If SELinux is configured after installation, the server will need a reboot for the change to take effect.

Firewall

  • If the OS is to be used for an Oracle installation, it is easier if the firewall is disabled. This can be done by issuing the following commands from a terminal window as the "root" user.
    # systemctl stop firewalld
    # systemctl disable firewalld
You can install and configure it later if you wish.

SSH

  • Make sure the SSH daemon is started using the following commands.
    # systemctl start sshd.service
    # systemctl enable sshd.service
For more information see:

Thursday, 14 May 2015

Converting VirtualBox VMs to ESXi

This morning I had to convert a VirtualBox VM to ESXi. I tried using the VMware converter but it was going to take 2 days!!! I then Stumbled across THIS article which saved my week.


Import VirtualBox VMs in VMware ESXi


Recently we’ve had a bunch of VirtualBox 4.x VMs that we needed to import into VMware ESXi 4.1. There are various tutorials on the net on how to convert the VMs by editing the OVF or OVA files. Unfortunately this method didn’t really work for us, so here are a couple of simple steps that helped us convert the VMs without issues.
  1. We do not try to convert the whole VM but only the hard drives. The VM is created on the target ESXi host easy enough.
  2. On you VirtualBox host create a clone of the VMs hard disk like that:vboxmanage clonehd in.vdi out.vmdk –format VMDK –variant Fixed,ESX
  3. This creates two files. One with the actual data and the other holding a descriptor. If the virtual hard drive is not completely filled, zipping the image will dramatically reduce its size.
  4. On your ESXi host create a new VM without hard drive. Use the advanced mode to do so.
  5. Copy the hard drive image to your ESXi host by using scp (or similar). Place it (both files) into the directory of you newly created VM.
  6. Edit the settings of your new VM and add that hard drive.
That’s all. Using this method your virtual hard drive should now be a SCSI hard drive as expected by ESXi even if it was a SATA drive in VirtualBox before. Our Linux guests had no problem with this transition. Hopefully it works for other guests as well.

Thursday, 2 April 2015

Adding new swap partition to centos VM without rebooting

This is the process that I used to add a new swap file to a centos vm today without rebooting them:

The new hard drive was added to the VM using the vmware client.

Ran the following command to see if the new drive has been found by Linux

# ls /dev/sd*

It showed the following output:

/dev/sda  /dev/sda1  /dev/sda2

This showed that the new drive had not been added as it would be shown as /dev/sdb.

Ran the following command to force Linux to add the new drive:

# ls /sys/class/scsi_host/ | while read host ; do echo "- - -" > /sys/class/scsi_host/$host/scan ; done

I then ran:

# ls /dev/sd*

In now showed:

/dev/sda  /dev/sda1  /dev/sda2 /dev/sdb

I then created a new partition with fdisk by running:

fdisk /dev/sdb

I choose the following options:

Command (m for help): c
DOS Compatibility flag is not set
Command (m for help): u
Changing display/entry units to sectors

Disk /dev/sdb: 34.4 GB, 34359738368 bytes
255 heads, 63 sectors/track, 4177 cylinders
Units = cylinders of 16065 * 512 = 8225280 bytes
Sector size (logical/physical): 512 bytes / 512 bytes
I/O size (minimum/optimal): 512 bytes / 512 bytes
Disk identifier: 0xd1082b01

   Device Boot      Start         End      Blocks   Id  System

Command (m for help): n
Command action
   e   extended
   p   primary partition (1-4)
p
Partition number (1-4):

Partition number (1-4): 1
First sector (2048-67108863, default 2048):
Using default value 2048
Last sector, +sectors or +size{K,M,G} (2048-67108863, default 67108863):
Using default value 67108863

Command (m for help): w
The partition table has been altered!

Calling ioctl() to re-read partition table.
Syncing disks.

I then checked to see if the new partition had been added:

# ls /dev/sd*

It showed the following output that showed the new partition had been added (/dev/sdb1):

/dev/sda  /dev/sda1  /dev/sda2 /dev/sdb  /dev/sdb1

I then ran the following command:

# mkswap /dev/sdb1

Which showed the following output:

Enable the swap partition for usage using swapon command as shown below.

I then ran the following command to enable the new swap partition:

# swapon /dev/sdb1

Which showed the following:

To make this swap space partition available even after the reboot, add the following line to the /etc/fstab file.

I then added the following line to /etc/fstab to enable the new swap partition at boot:

/dev/sdb1               swap                    swap    defaults        0 0

I then ran the following command to check that the new swap was present:

# swapon -s

It showed this output:

Filename                        Type            Size    Used    Priority
/dev/sda2                       partition       4192956 0       -1
/dev/sdc1                       partition       1048568 0       -2

The following comand was run to see the total amounts of Swap on the system:

# free -k

It showed:

             total       used       free     shared    buffers     cached
Mem:       3082356    3022364      59992          0      52056    2646472
-/+ buffers/cache:     323836    2758520
Swap:      5241524          0    5241524

That was the whole process.


Centos - Use a Hard Drive Partition for Additional Swap Space

Had a Centos server that was crashing because it was running out of swap space as it has 8gb of memory and only a 2gb swap partition. After adding a new 20gb partition to the VM I used the instructions below taken from THIS site to add the new hard drive as the new Swap partion:

Method 1: Use a Hard Drive Partition for Additional Swap Space

If you have an additional hard disk, (or space available in an existing disk), create a partition using fdisk command. Let us assume that this partition is called /dev/sdc1
Now setup this newly created partition as swap area using the mkswap command as shown below.

# mkswap /dev/sdc1
Enable the swap partition for usage using swapon command as shown below.
# swapon /dev/sdc1
To make this swap space partition available even after the reboot, add the following line to the /etc/fstab file.
# cat /etc/fstab
/dev/sdc1               swap                    swap    defaults        0 0
Verify whether the newly created swap area is available for your use.
# swapon -s
Filename                        Type            Size    Used    Priority
/dev/sda2                       partition       4192956 0       -1
/dev/sdc1                       partition       1048568 0       -2

# free -k
             total       used       free     shared    buffers     cached
Mem:       3082356    3022364      59992          0      52056    2646472
-/+ buffers/cache:     323836    2758520
Swap:      5241524          0    5241524
Note: In the output of swapon -s command, the Type column will say “partition” if the swap space is created from a disk partition.

Linux: Add a New HDD to a VM Without Rebooting

While working at a client site I needed to add a new hard drive to a Centos ESXi VM without rebooting the server.

After adding the harddrive in ESXi for the VM ran ls /dev/sd* but it did not show the new hard drive.

I found THIS site where I used the following commands to add the hard drive without rebooting.

echo "- - -" > /sys/class/scsi_host/host0/scan
fdisk -l
This showed:
[root@centos-teste ~]# fdisk -l

Disk /dev/sda: 42.9 GB, 42949672960 bytes, 83886080 sectors
Units = sectors of 1 * 512 = 512 bytes
Sector size (logical/physical): 512 bytes / 512 bytes
I/O size (minimum/optimal): 512 bytes / 512 bytes
Disk label type: dos
Disk identifier: 0x0001b288

   Device Boot      Start         End      Blocks   Id  System
/dev/sda1   *        2048     1026047      512000   83  Linux
/dev/sda2         1026048    83886079    41430016   8e  Linux LVM

Disk /dev/mapper/centos-root: 40.2 GB, 40227569664 bytes, 78569472 sectors
Units = sectors of 1 * 512 = 512 bytes
Sector size (logical/physical): 512 bytes / 512 bytes
I/O size (minimum/optimal): 512 bytes / 512 bytes


Disk /dev/mapper/centos-swap: 2147 MB, 2147483648 bytes, 4194304 sectors
Units = sectors of 1 * 512 = 512 bytes
Sector size (logical/physical): 512 bytes / 512 bytes
I/O size (minimum/optimal): 512 bytes / 512 bytes


Disk /dev/sdb: 21.5 GB, 21474836480 bytes, 41943040 sectors
Units = sectors of 1 * 512 = 512 bytes
Sector size (logical/physical): 512 bytes / 512 bytes
I/O size (minimum/optimal): 512 bytes / 512 bytes
I then ran ls /dev/sd* again and it showed the new drive as sdb.

***EDIT***

On one of my servers the new disk wasnt showing up.

I ran the command below which I got from THIS site:

ls /sys/class/scsi_host/ | while read host ; do echo "- - -" > /sys/class/scsi_host/$host/scan ; done
This found the hard drive.