Oracle Database 11g Release 2 (11.2) Installation On Oracle Linux 7 (OL7)
Oracle Linux 7 is a production release, but the Oracle Database is only supported on it from Oracle Database 11g (11.2.0.4) onward. This installation should not be used for a real system when using database versions prior to 11.2.0.4.
This article describes the installation of Oracle Database 11g Release 2 (11.2.0.4) 64-bit on Oracle Linux 7 (OL7) 64-bit. The article is based on a server installation with a minimum of 2G swap and secure Linux set to permissive. An example of this type of Linux installation can be seen here.
- Download Software
- Unpack Files
- Hosts File
- Oracle Installation Prerequisites
- Installation
- Post Installation
Download Software
Download the Oracle software using one of the two link below. If you have access to My Oracle Support (MOS), then it is better to download the 11.2.0.4 version, since this is the first release of 11.2 that is supported on Oracle Linux 7.
- Oracle Database 11g Release 2 (11.2.0.4) Software (MOS)
- Oracle Database 11g Release 2 (11.2.0.1) Software (OTN)
Unpack Files
Unzip the files.
unzip linux.x64_11gR2_database_1of2.zip
unzip linux.x64_11gR2_database_2of2.zip
You should now have a single directory called "database" containing installation files.
Hosts File
The "/etc/hosts" file must contain a fully qualified name for the server.
<IP-address> <fully-qualified-machine-name> <machine-name>
For example.
127.0.0.1       localhost localhost.localdomain localhost4 localhost4.localdomain4
192.168.0.215   ol7.localdomain  ol7
Set the correct hostname in the "/etc/hostname" file.
ol7.localdomain
Oracle Installation Prerequisites
Perform either the Automatic Setup or the Manual Setup to complete the basic prerequisites. The Additional Setup is required for all installations.
Automatic Setup
If you plan to use the "oracle-rdbms-server-11gR2-preinstall" package to perform all your prerequisite setup, follow the instructions at http://public-yum.oracle.com to setup the yum repository for OL, then perform the following command.
# yum install oracle-rdbms-server-11gR2-preinstall
All necessary prerequisites will be performed automatically.
It is probably worth doing a full update as well, but this is not strictly speaking necessary.
# yum update
Manual Setup
If you have not used the "oracle-rdbms-server-11gR2-preinstall" package to perform all prerequisites, you will need to manually perform the following setup tasks.
Add or amend the following lines in the "/etc/sysctl.conf" file.
fs.aio-max-nr = 1048576
fs.file-max = 6815744
kernel.shmall = 2097152
kernel.shmmax = 536870912
kernel.shmmni = 4096
# semaphores: semmsl, semmns, semopm, semmni
kernel.sem = 250 32000 100 128
net.ipv4.ip_local_port_range = 9000 65500
net.core.rmem_default=262144
net.core.rmem_max=4194304
net.core.wmem_default=262144
net.core.wmem_max=1048586
Run the following command to change the current kernel parameters.
/sbin/sysctl -p
Add the following lines to the "/etc/security/limits.conf" file.
oracle              soft    nproc   2047
oracle              hard    nproc   16384
oracle              soft    nofile  4096
oracle              hard    nofile  65536
oracle              soft    stack   10240
Add the following line to the "/etc/pam.d/login" file, if it does not already exist.
session required pam_limits.so
The following packages are listed as required, including the 32-bit version of some of the packages. Many of the packages should be installed already.
yum install binutils -y
yum install compat-libstdc++-33 -y
yum install compat-libstdc++-33.i686 -y
yum install gcc -y
yum install gcc-c++ -y
yum install glibc -y
yum install glibc.i686 -y
yum install glibc-devel -y
yum install glibc-devel.i686 -y
yum install ksh -y
yum install libgcc -y
yum install libgcc.i686 -y
yum install libstdc++ -y
yum install libstdc++.i686 -y
yum install libstdc++-devel -y
yum install libstdc++-devel.i686 -y
yum install libaio -y
yum install libaio.i686 -y
yum install libaio-devel -y
yum install libaio-devel.i686 -y
yum install libXext -y
yum install libXext.i686 -y
yum install libXtst -y
yum install libXtst.i686 -y
yum install libX11 -y
yum install libX11.i686 -y
yum install libXau -y
yum install libXau.i686 -y
yum install libxcb -y
yum install libxcb.i686 -y
yum install libXi -y
yum install libXi.i686 -y
yum install make -y
yum install sysstat -y
yum install unixODBC -y
yum install unixODBC-devel -y
yum install zlib-devel -y
yum install elfutils-libelf-devel -y
Create the new groups and users.
groupadd -g 54321 oinstall
groupadd -g 54322 dba
groupadd -g 54323 oper
#groupadd -g 54324 backupdba
#groupadd -g 54325 dgdba
#groupadd -g 54326 kmdba
#groupadd -g 54327 asmdba
#groupadd -g 54328 asmoper
#groupadd -g 54329 asmadmin

useradd -g oinstall -G dba,oper oracle
We are not going to use the extra groups, but include them if you do plan on using them.
Additional Setup
The following steps must be performed, whether you did the manual or automatic setup.
Set the password for the "oracle" user.
passwd oracle
Set secure Linux to permissive by editing the "/etc/selinux/config" file, making sure the SELINUX flag is set as follows.
SELINUX=permissive
Once the change is complete, restart the server or run the following command.
# setenforce Permissive
If you have the Linux firewall enabled, you will need to disable or configure it, as shown here or here. To disable it, do the following.
# systemctl stop firewalld
# systemctl disable firewalld
Create the directories in which the Oracle software will be installed.
mkdir -p /u01/app/oracle/product/11.2.0.4/db_1
chown -R oracle:oinstall /u01
chmod -R 775 /u01
Unless you are working from the console, or using SSH tunnelling, login as root and issue the following command.
xhost +<machine-name>
Add the following lines at the end of the "/home/oracle/.bash_profile" file.
# Oracle Settings
TMP=/tmp; export TMP
TMPDIR=$TMP; export TMPDIR

ORACLE_HOSTNAME=ol7.localdomain; export ORACLE_HOSTNAME
ORACLE_UNQNAME=DB11G; export ORACLE_UNQNAME
ORACLE_BASE=/u01/app/oracle; export ORACLE_BASE
ORACLE_HOME=$ORACLE_BASE/product/11.2.0.4/db_1; export ORACLE_HOME
ORACLE_SID=DB11G; export ORACLE_SID
ORACLE_TERM=xterm; export ORACLE_TERM
PATH=/usr/sbin:$PATH; export PATH
PATH=$ORACLE_HOME/bin:$PATH; export PATH

LD_LIBRARY_PATH=$ORACLE_HOME/lib:/lib:/usr/lib; export LD_LIBRARY_PATH
CLASSPATH=$ORACLE_HOME/JRE:$ORACLE_HOME/jlib:$ORACLE_HOME/rdbms/jlib; export CLASSPATH

if [ $USER = "oracle" ]; then
  if [ $SHELL = "/bin/ksh" ]; then
    ulimit -p 16384
    ulimit -n 65536
  else
    ulimit -u 16384 -n 65536
  fi
fi
Installation
Log into the oracle user. If you are using X emulation then set the DISPLAY environmental variable.
DISPLAY=<machine-name>:0.0; export DISPLAY
Start the Oracle Universal Installer (OUI) by issuing the following command in the database directory.
./runInstaller
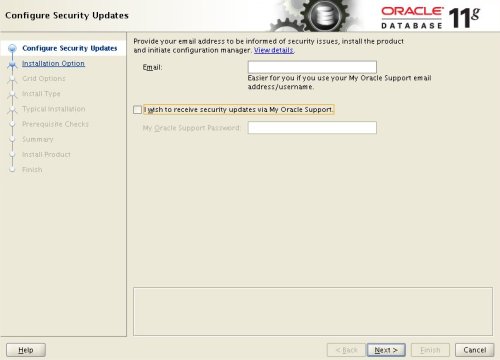
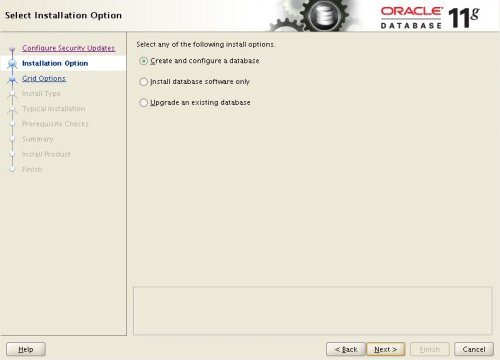
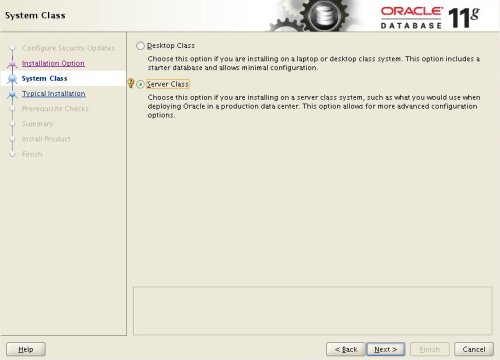
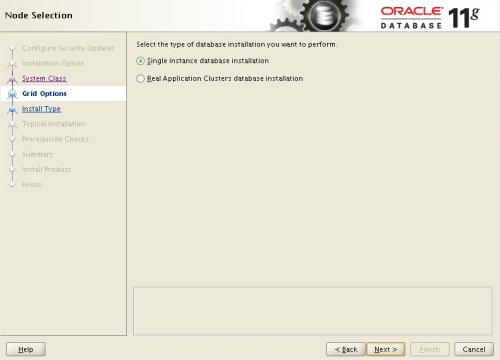
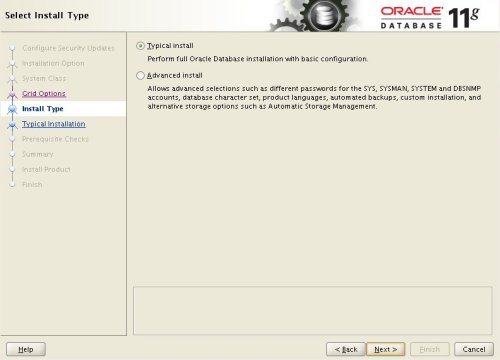
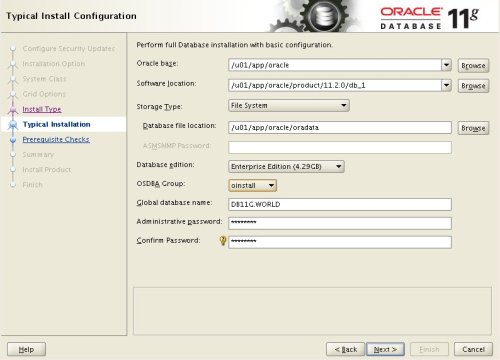
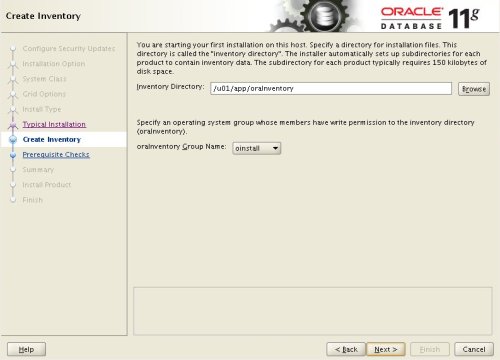
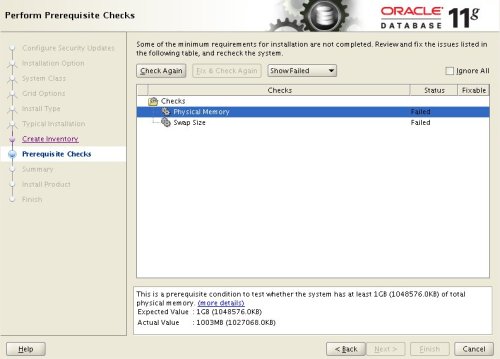
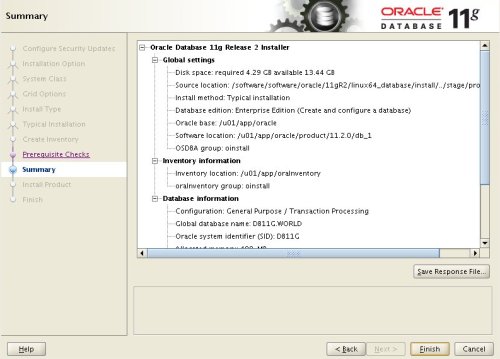
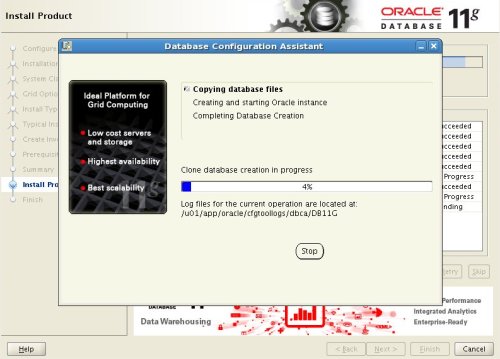
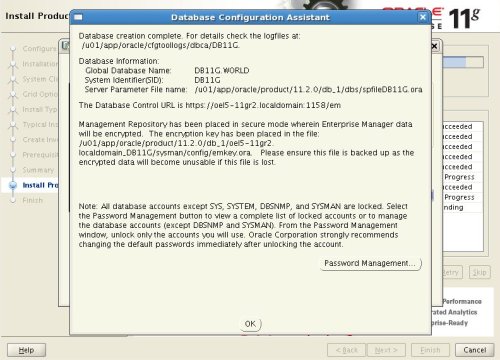
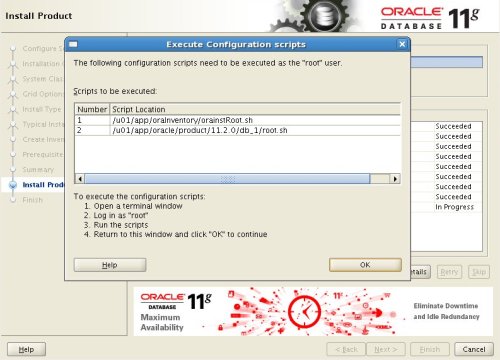
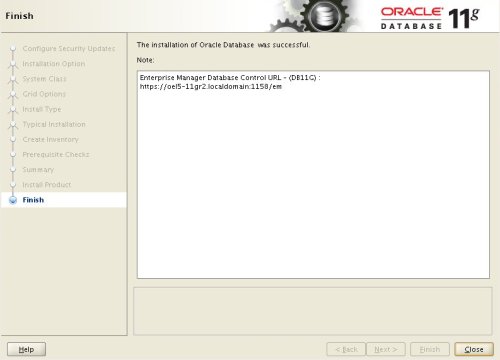
Proceed with the installation of your choice. You can see type of installation I performed by clicking on the links below to see screen shots of each stage. The "pdksh" package will be listed as missing, which can be ignored because we installed the "ksh" package instead.
- Configure Security Updates
- Select Install Option
- System Class
- Node Selection
- Select Install Type
- Typical Install Configuration
- Create Inventory
- Perform Prerequisite Checks
- Summary
- Install Product
- Database Configuration Assistant
- Database Configuration Assistant 2
- Execute Configuration Scripts
- Finish
During the link phase you will encounter an error invoking the "ins_emagent.mk" file. To fix this, edit the "$ORACLE_HOME/sysman/lib/ins_emagent.mk", doing a search and replace for the line shown below.
FROM:
$(MK_EMAGENT_NMECTL)
TO  :
$(MK_EMAGENT_NMECTL) -lnnz11
Click the "Retry" button.
Post Installation
Edit the "/etc/oratab" file setting the restart flag for each instance to 'Y'.
DB11G:/u01/app/oracle/product/11.2.0.4/db_1:Y
For more information see:
- Oracle Database Installation Guide 11g Release 2 (11.2) for Linux
- Automating Database Startup and Shutdown on Linux